
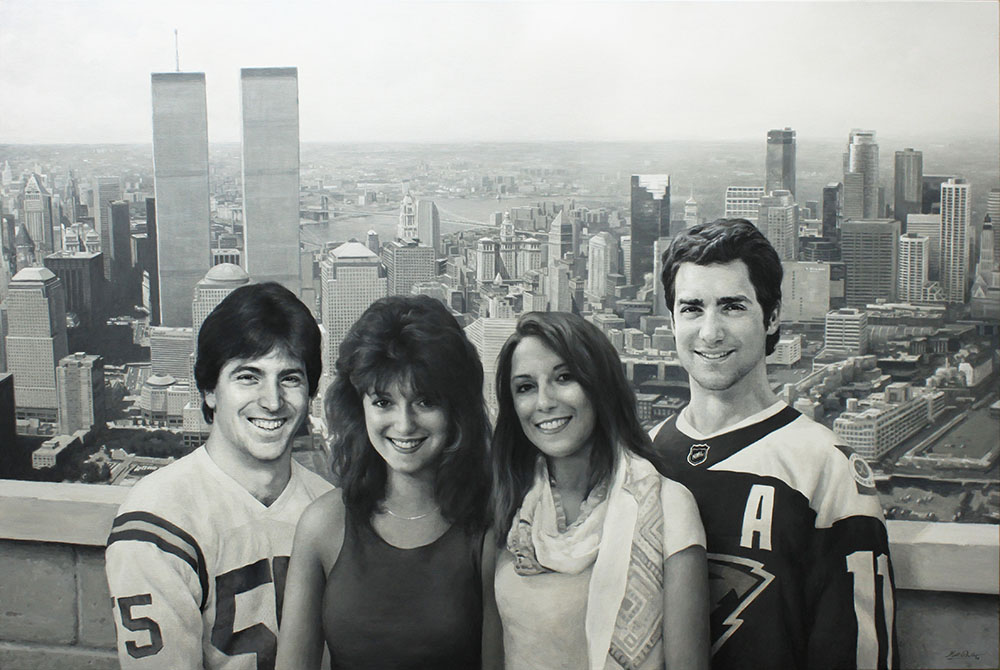
Finally, after three months of intense work, I finished my largest canvas painting ever: a 48″ x 72.” Although I worked on some other projects during the creation of this one, this particular portrait consumed the brunt of my focus–and studio space since the middle of winter.
The concept for this portrait painting was about as unique and intriguing as I’ve ever done, and it certainly was a privilege to be able to bring this idea to life for my client.
I made contact with him originally through the freelance/ self-employment web service, Thumbtack. Jim, my client, saw the profile I had there, and contacted me asking if I could do a portrait of his family. The concept he wanted was a depiction of his wife when they were in their 20’s back in the 80’s, and and their children–who are now in their 20’s–hanging out in the same time and place. In the background is New York City, where they were originally from, merging into Minneapolis, which is close to where they and their kids now live.
This was an idea I just couldn’t pass up.
As a freelance artist, I often take commissions that are your typical portrait based off a “polaroid” style snapshot photo, nothing fancy. Although I enjoy all of these projects because I love to capture the beauty in every person, this idea transcended the mundane, and I was thrilled to be able to bring it to life.
I have often wondered myself what it would have been like to hang out with my dad, for example, when he was my age. Would we be friends? What would we talk about? What kind of things would we do together?
The connection between who we were in the past, often overlooked, is vital to know where we are going.
This identity has a strong correlation with our children, since they in many ways are an offshoot of us. Not only do they share the same DNA, but in growing up with us and learning our habits, we see things in them– both positive and negative–that can help us to take a closer look at ourselves.

Coffee: my drink of choice to get the creative juices flowing.
Jim and I conversed online for a while and at the end of January we got together, along with his wife, Chris, and met over a cup of coffee in Hudson, WI. They decided to go with a 48″ x 72″ size–large enough to fit them, their two kids, and the cities skylines together in one dynamic and cohesive image.
After that, Jim sent me some photos of his family and I got to work putting together a layout of what the painting would look like when finished. It always helps to have a good-looking family to do your painting from! Jim kind of reminds me of Scott Baio or Tony Danza in these photos. 😎
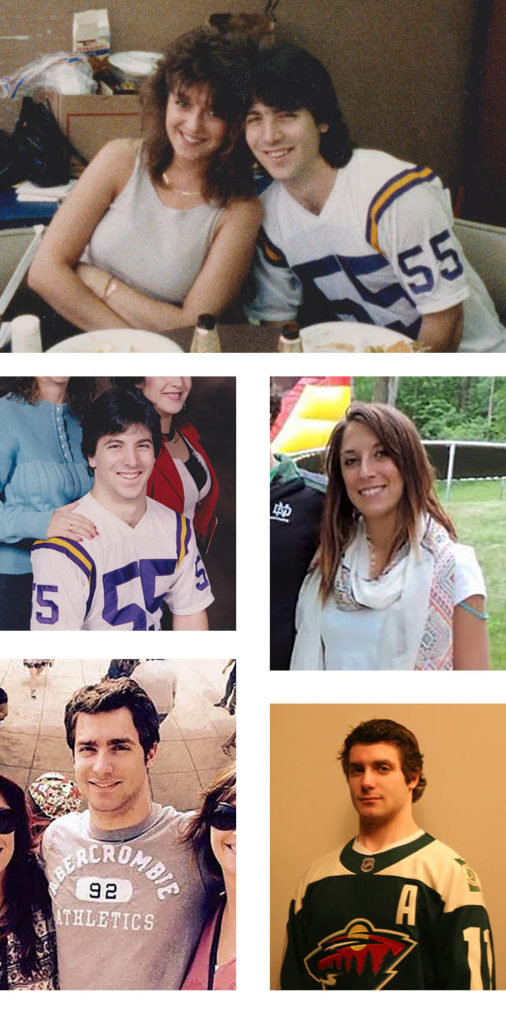
Some of the photos from the client that I used to create this portrait.
Most of the time, I use Photoshop now instead of sketching out a design. It’s beneficial both for me and the customers. They have a stronger visual aid to tell what it should look like, and I have a blueprint to create the actual painting from. Also, making changes in the layout is a snap with Photoshop. You can simply move layers around, alter the photos, increase sizes, cut and paste.
I love it.
Here is the layout I created.
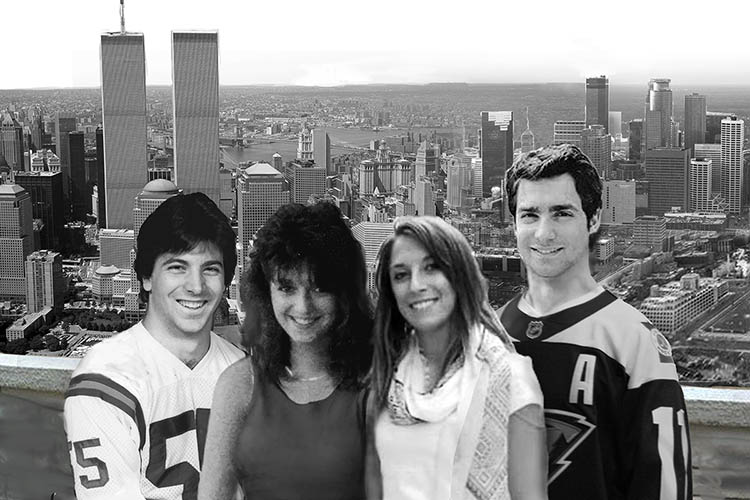
The final layout of the portrait that I created on Photoshop.
During the layout and approval process, I also worked on building the canvas. I started with professional stretcher bars made in the USA, complete with locking mitre joints and beveled edges, and assembled them. It is extremely important to have a strong support for a 4″ x 6″ canvas, to be able to withstand the tension of the stretched fabric, and to keep from warping. I made sure to include cross braces and diagonal braces as well.
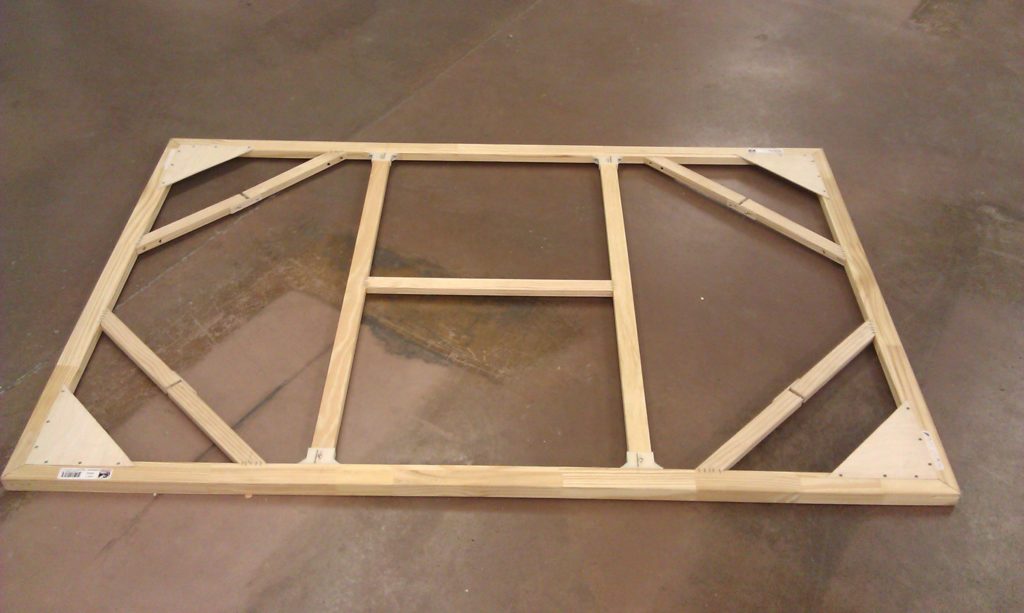
The completed 48″ x 72″ canvas stretcher frame.
Next, I stretched the canvas with pliers and stapled it extremely carefully, measuring every mark to ensure even tension. Just this process alone took several hours.
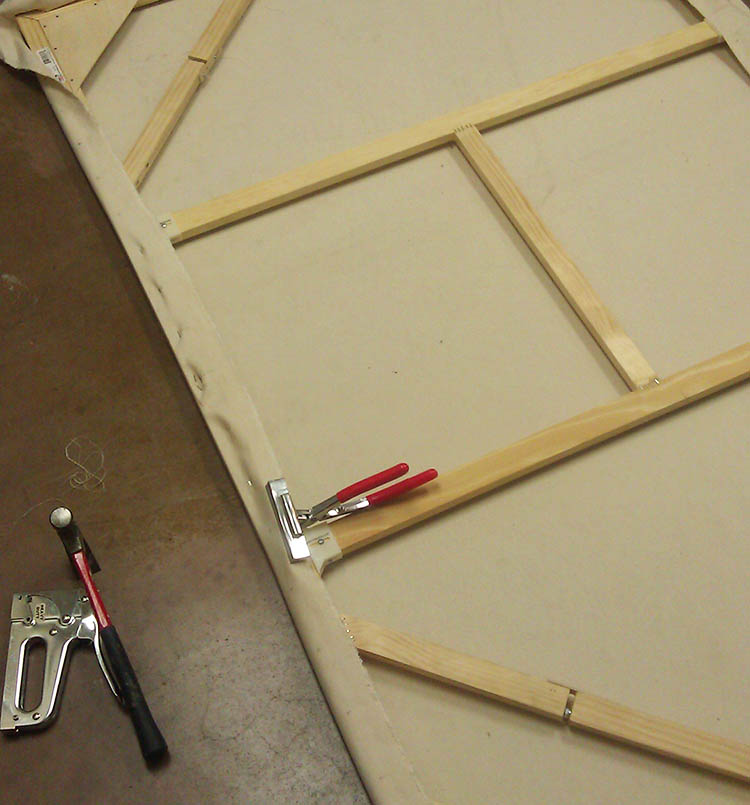
Stretching the canvas.
Finally, the stretched canvas! I apply hot water with a brush to add just a bit more tension and get out any wrinkles. If you tap it, it sounds like a drum!
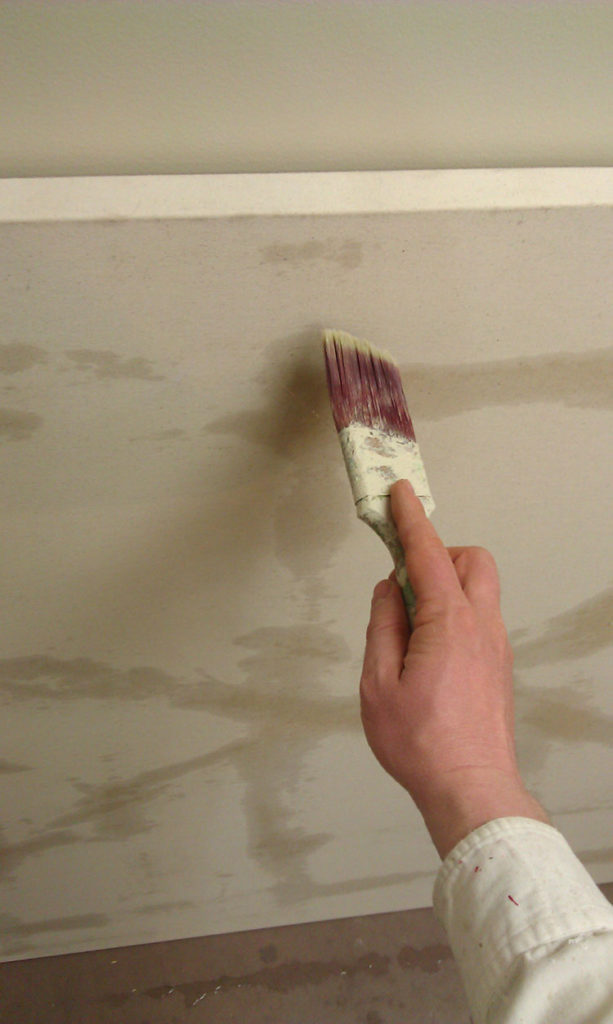
Tightening the canvas with water.
The next step was to gesso (prime) the canvas. I use a high quality gesso, which is white acrylic paint plus ground pumice to make it sandable. I used three or four coats to get a really smooth and durable surface.
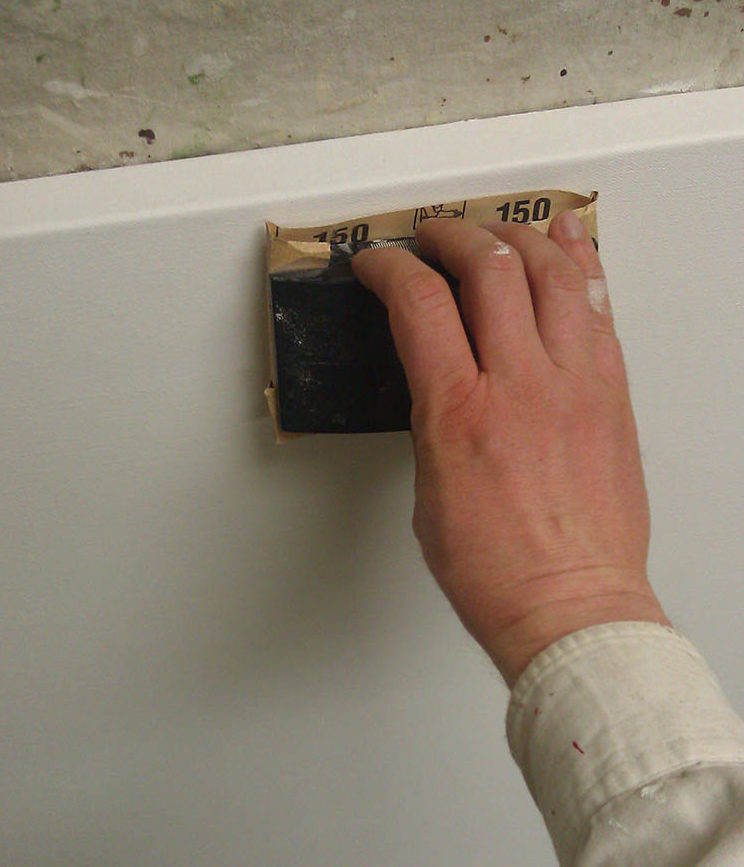
Sanding the gesso.
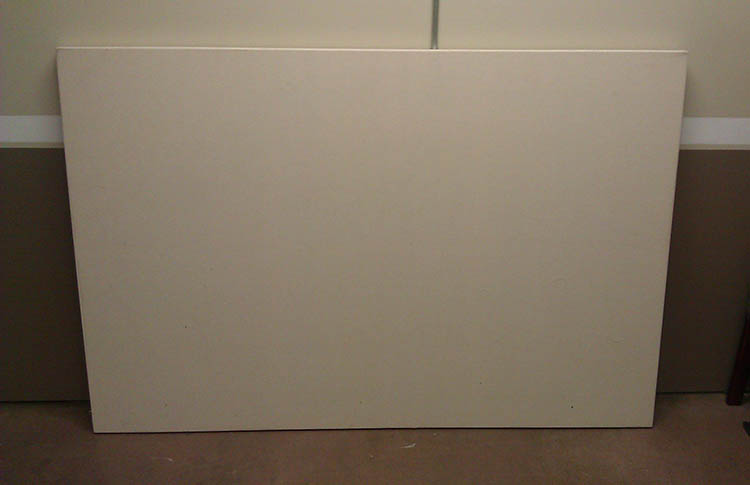
With a blank canvas to work with, I feel good.
It doesn’t feel daunting. It’s like a clean slate, ready to add something beautiful and intricate to. It makes me think of what God does in our lives when He forgives our sins through Jesus Christ, and then we are clean, perfect, and ready for Him to work with us to create a masterpiece!
It was around the beginning of March when I started painting. Jim and his family approved the layout after a few changes, and so I was ready to go! I decided to skip the pencil sketch, and get into the painting process right away.
Many people ask me how I do the sketching process. It depends on the project. Most often for small portraits, I freehand sketch them. For a large scale and incredibly detailed project like this on a canvas, I will either grid or project the design with an overhead transparency projector. Canvas is very difficult to sketch on with a pencil. In this case, I projected the design I created in Photoshop, using a small brush and a grey paint to quickly capture the lines of the image.
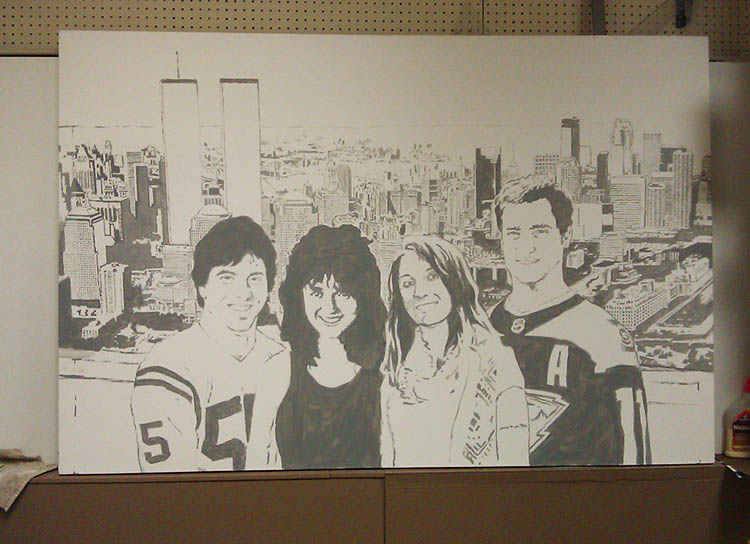
The painted “sketch”
Next, I painted a glaze over the entire painting, to give me a mid-value grey tone to work from. I add in darker values and highlights, working my way across from left to right. I try to develop the painting as a whole and not get too hung up in any one area.
Building in the tones and values.
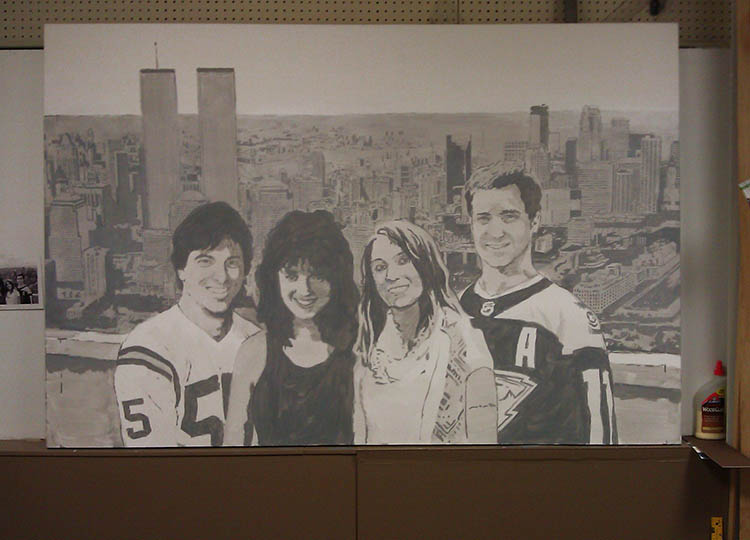
It took over fifty hours to paint the background. I thought I was making it too dark, and had to constantly remind myself that the subjects, the people in the front would be much darker, with areas of pure black paint, and make the background look lighter by comparison. I wanted to “fix the background” and try to lighten it up, but I kept telling myself, “just wait until you paint the people.”
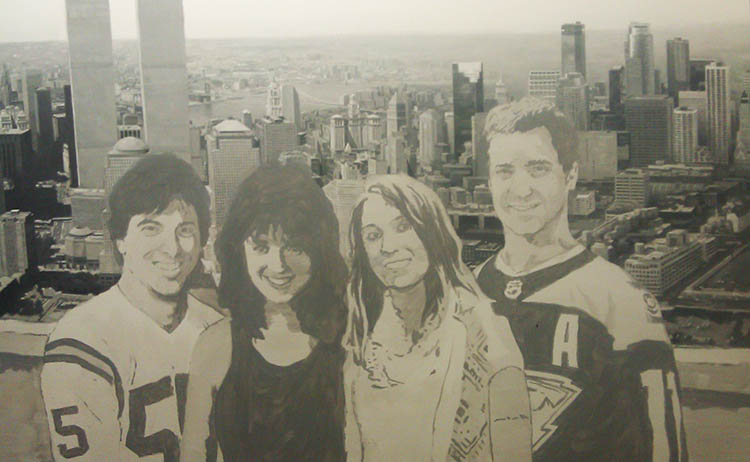
Background nearly finished.
How often in our lives do we judge something or someone prematurely? We ought to reserve judgment on many things in our lives, and especially in others’ lives, believing the best, and wait until everything shakes out. God has a purpose and a plan that we don’t always see. Things can look horribly wrong, when God is creating something wonderful behind the scenes.
In the next post on this painting, I’ll show you a little more of the process in how I wrapped this project up and share a few more insights.
Share Your Thoughts!
Great job on that large portrait Matt. Now that you are a full time artist your work and variety of work has grown.
Thanks, Jerry!