
How I Fixed a Stabbed Painting
What do you do when your son stabs your painting with a spoon?
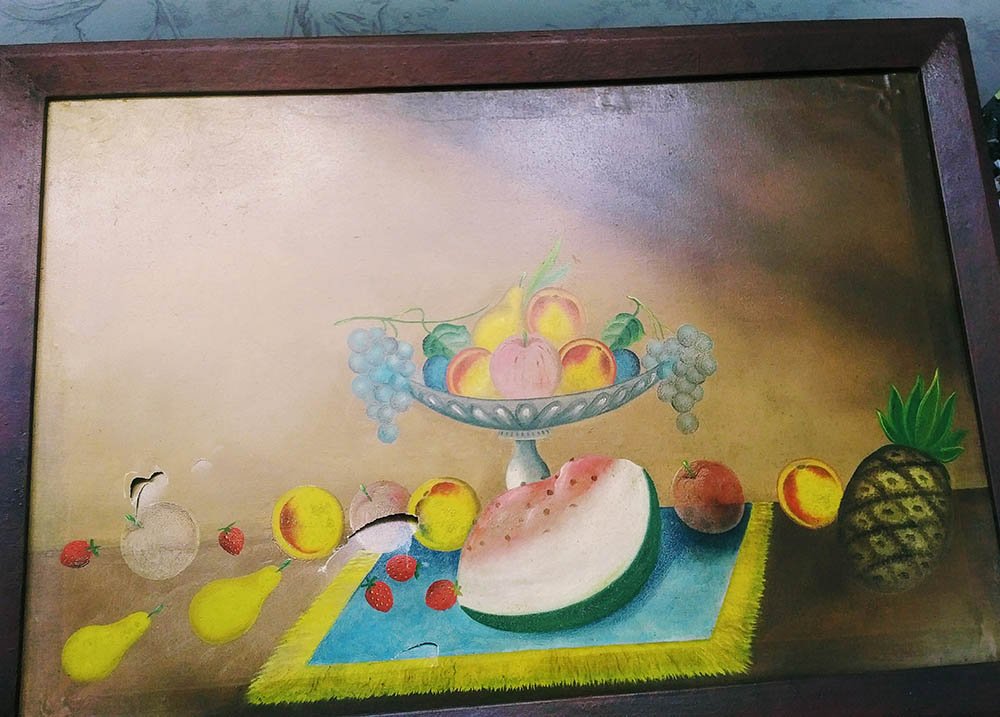
This is the question I had to answer when a customer asked me if I could fix this painting.
It was a special painting in his family, a collectible, and his then 2-year old son got a little excited one day with the silverware, adding a new dimension to the surface of the picture.
“I haven’t done anything like this before, ” I more or less told the customer when he asked if this kind of repair was possible. “But let’s give it a try.”
And so I laid the canvas out on a table and assessed the damage. There were several punctures in the canvas, so it wasn’t going to be easy.
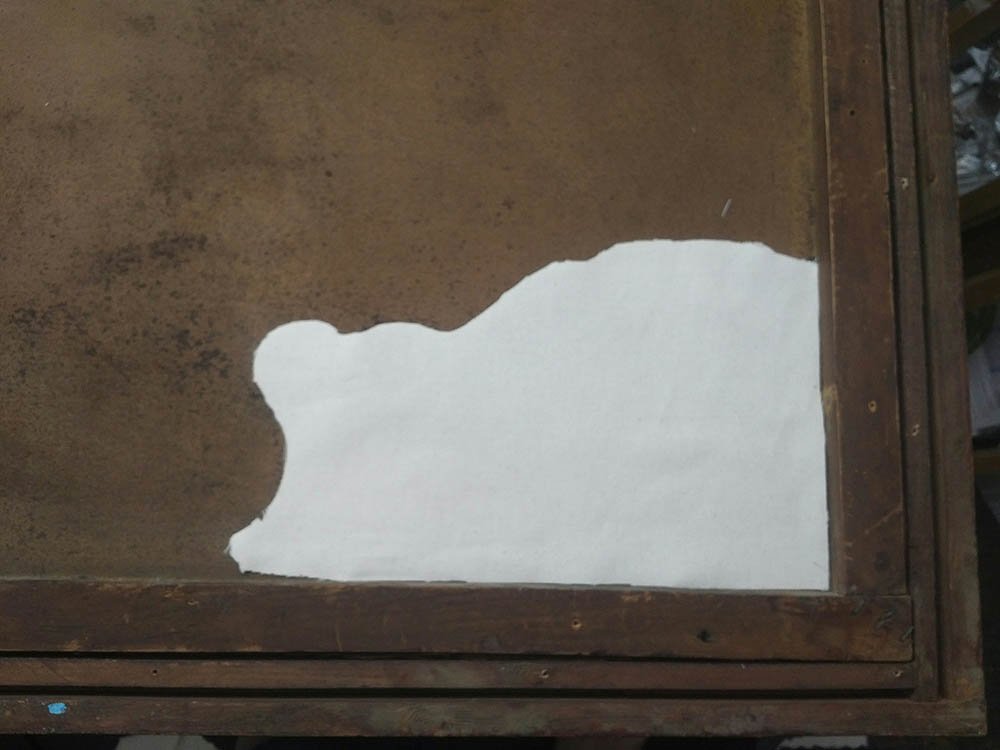
I researched on how to repair paintings, and many websites suggested using a patch, but that it might be possible to see it from the other side, so you have to be careful with a repair like that.
What do you use for a patch?
I had some canvas lying around, so I figured it would be good to use the same material.
And then just to make sure it didn’t leave an impression on the other side years later, I cut the fabric to match the shape of the painting’s contours–in this case fruit in the still life.
I applied gloss medium (clear acrylic without pigment that also can be used as an adhesive) to the patch and praying a quick prayer, weighted it down. This step is critical. If I misaligned the patch or caused the holes in the canvas to buckle, after the adhesive dries, the damage would be permanent.
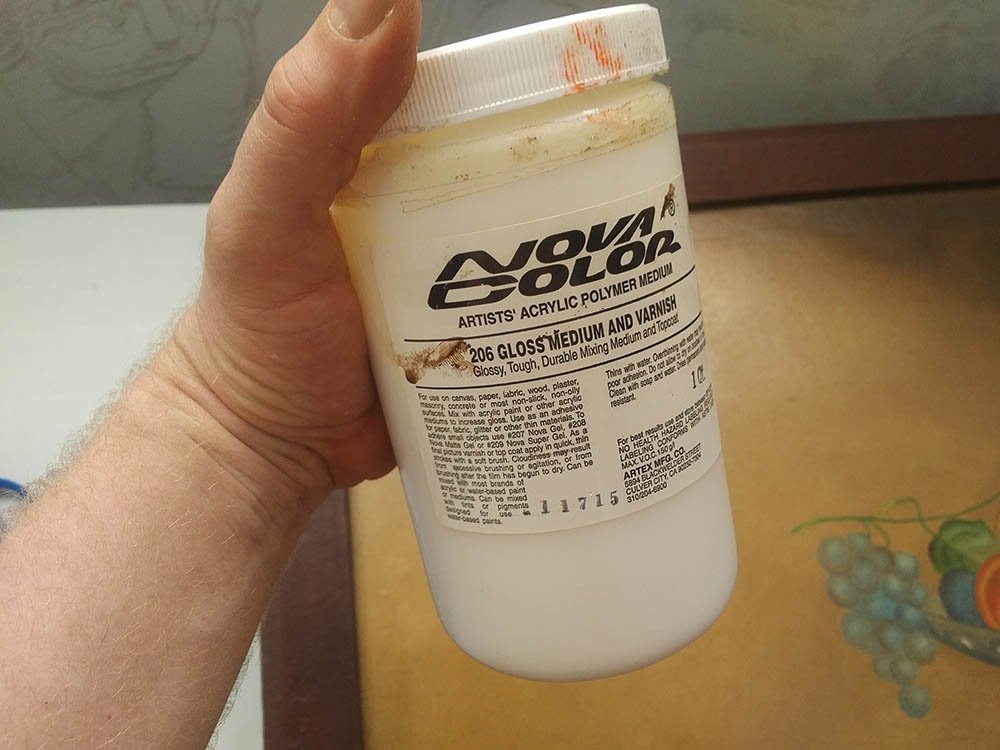
30 minutes later I took the weight off and inspected the other side. How did it look? Excellent. The tears were lined up almost perfectly.
But this is where the real work began. I had to fill the cracks in. The tears still left very noticeable crevices in the surface of the canvas. It had to be filled in.
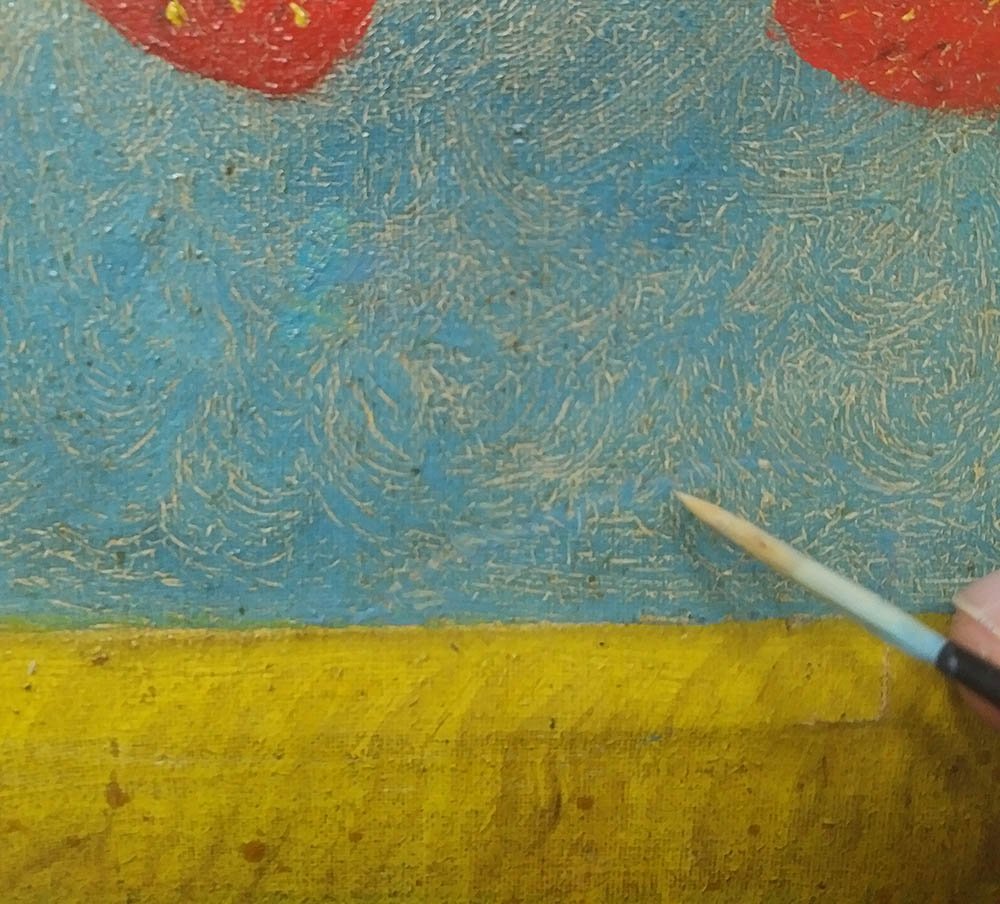
So I thought, let’s use some acrylic medium and fill in the holes like wall spackling. It does work, I discovered, but it takes several layers to do the job. I applied each layer with a brush and then began to scrape over it with a flat-edged blade.
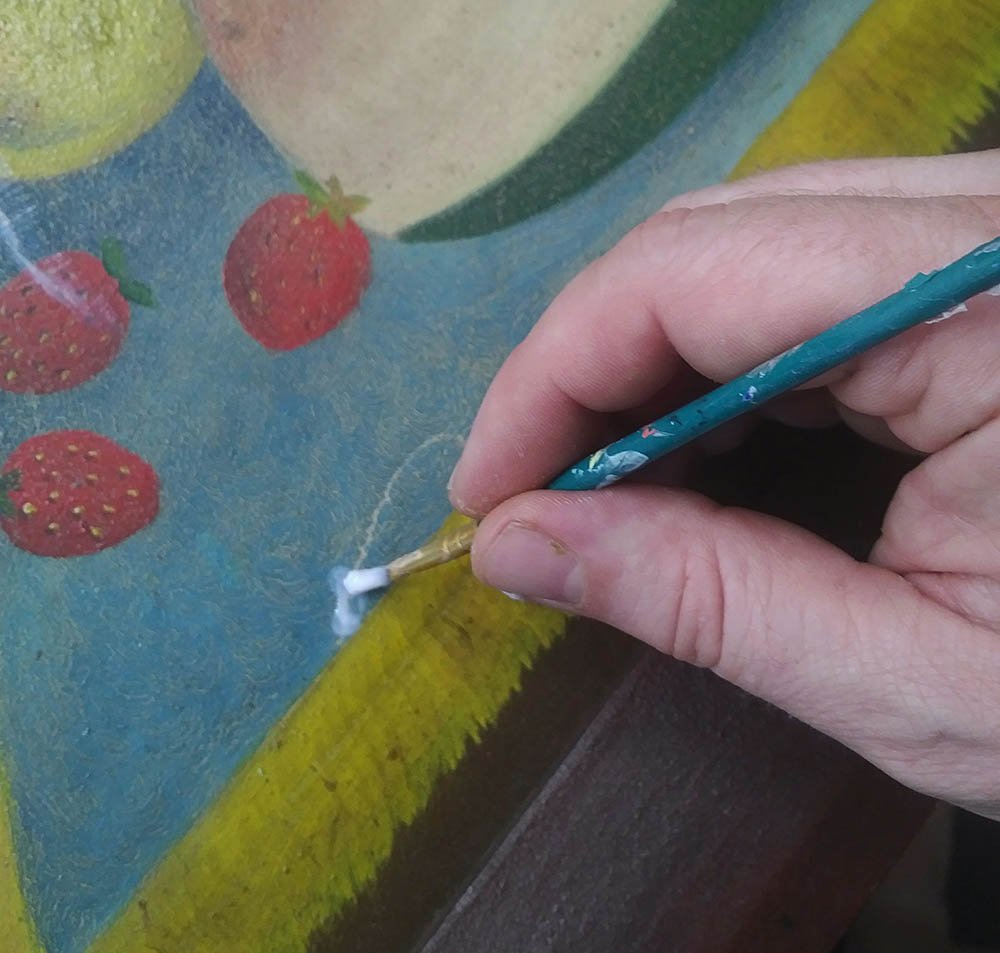
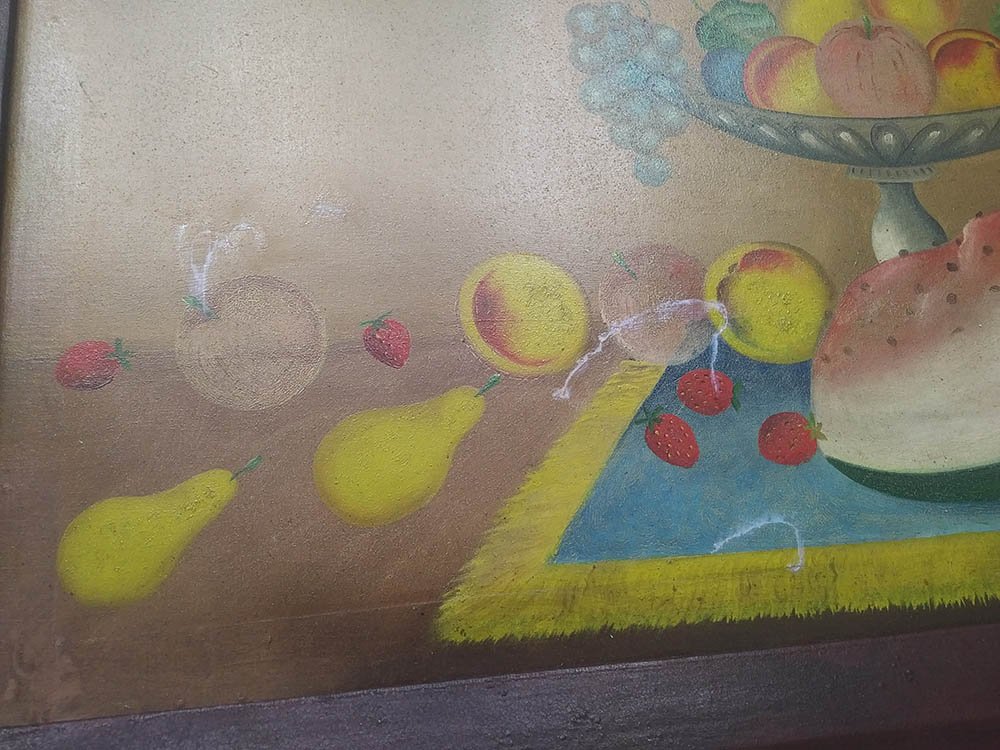
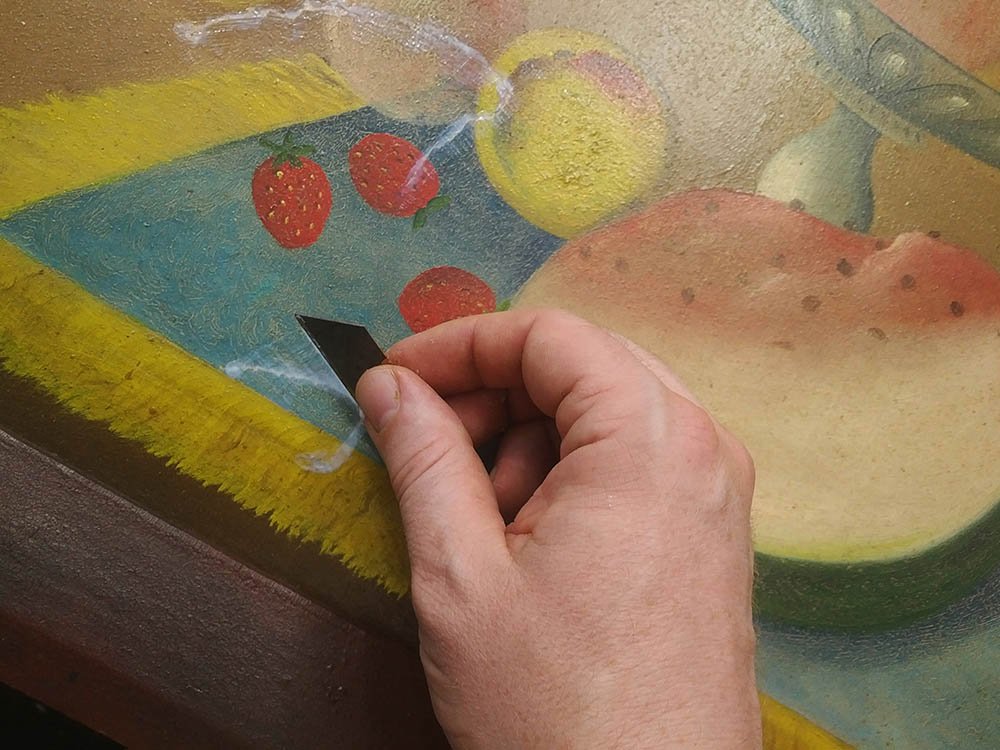
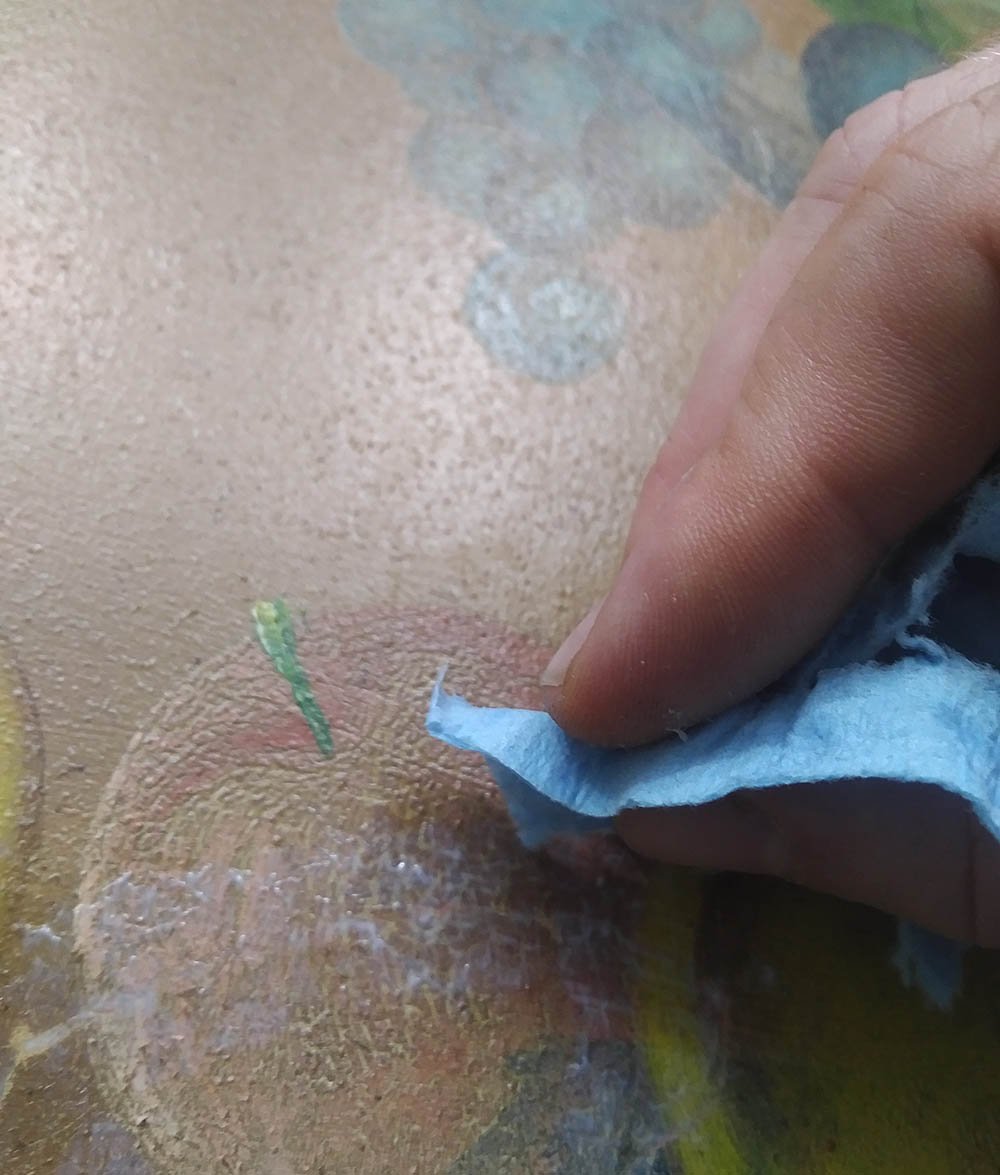
Eventually, the surface was flat. I used a piece of shop towel to stipple the last layer–helping it to match the texture of the canvas, which is slightly putted.
Fantastic.
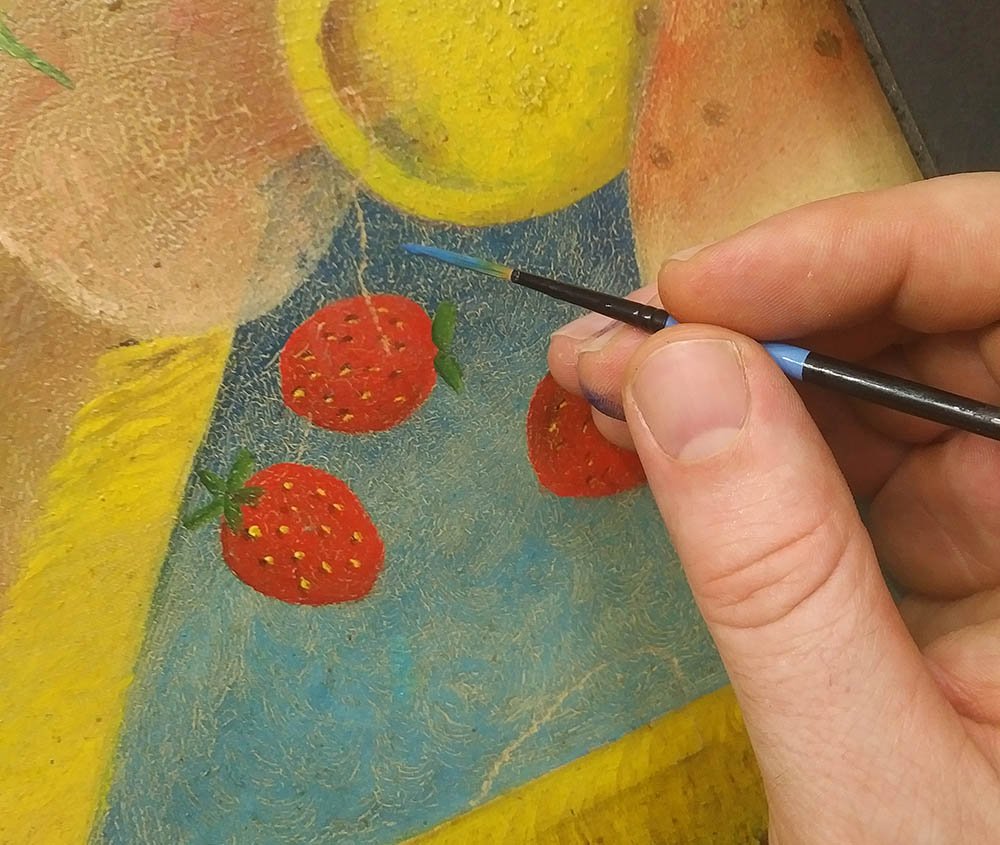
Now, with the surface matching perfectly it was just a matter of matching the color of the painting to fill in the little lines and cracks left by the tear.
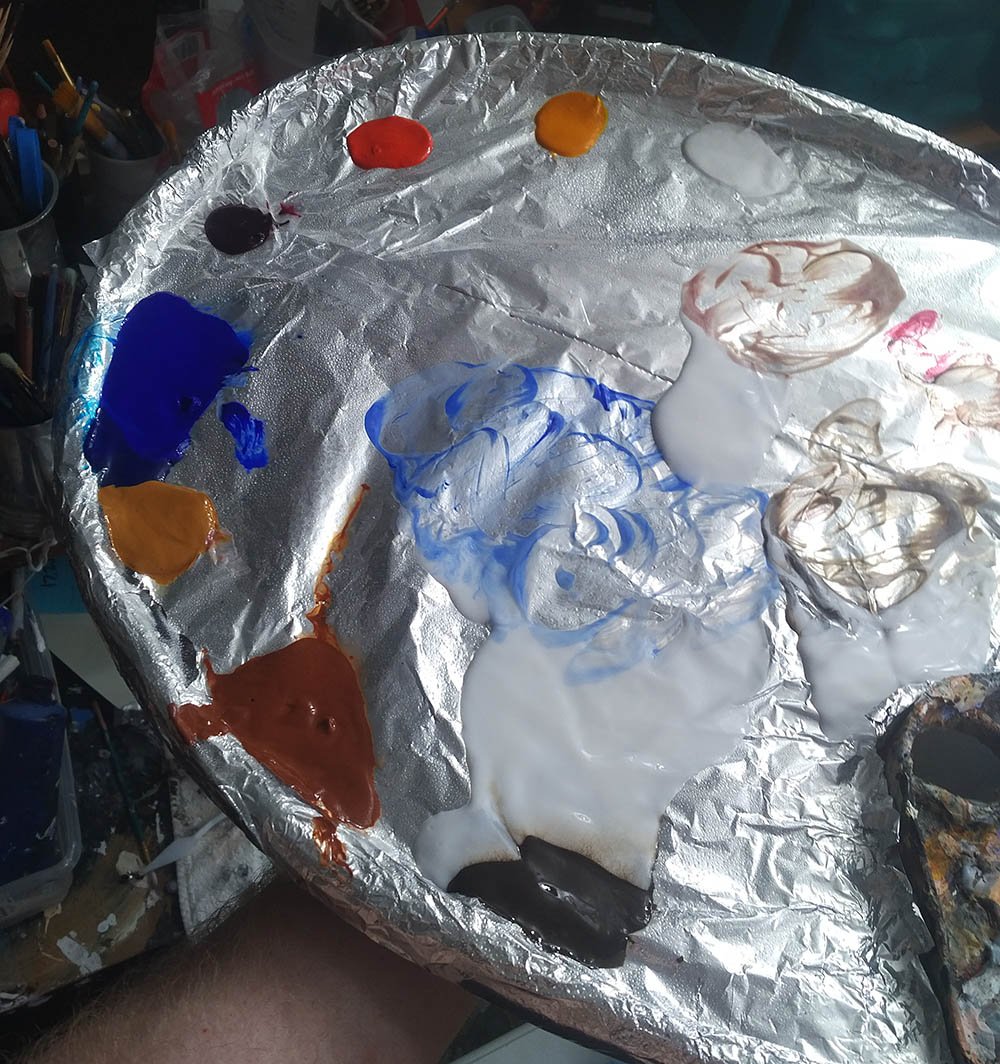
Matching each color up by eye, I filled the areas in. I also tried to match the sheen by mixing matte (flat) and gloss medium together and cover over the top.
When I was all done it was really hard to tell that anything even happened to the painting. I had trouble even seeing some of my repaired areas. I gave it to the client and he was amazed too. I thank God. It was a profitable project for me and it really blessed the customer to have their painting back and be able to hang it up on the wall.
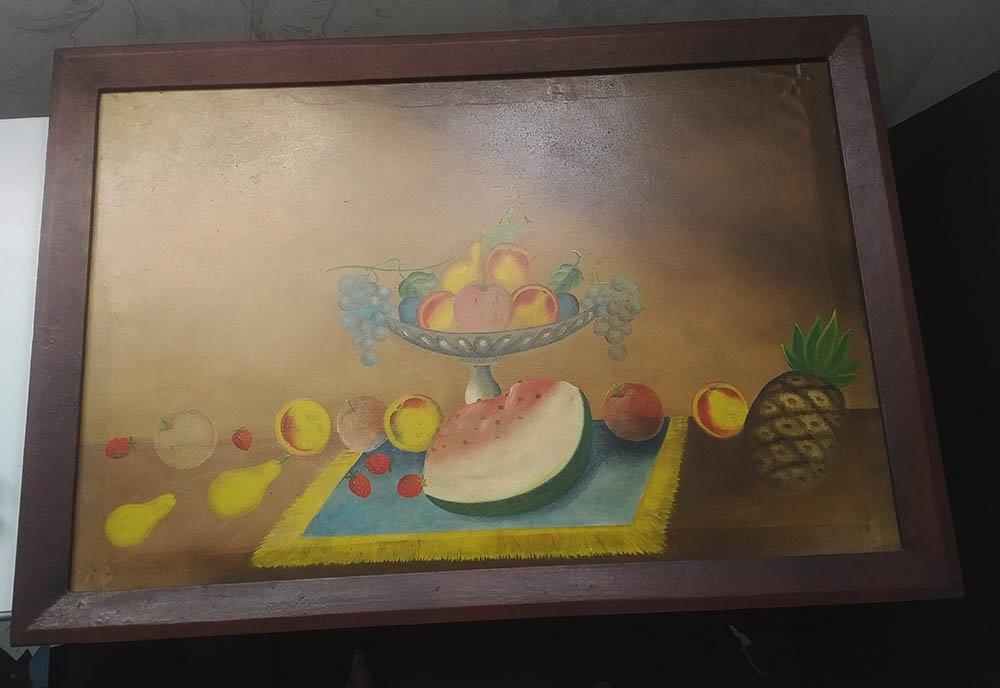
I don’t know. Maybe they’ll hang it a little bit higher this time. 🙂
Thanks for reading and have a blessed day,

Recent Comments