by Matt Philleo | Jul 15, 2018 | Tips for Artists, Tips for Collectors
What do you do when your son stabs your painting with a spoon?
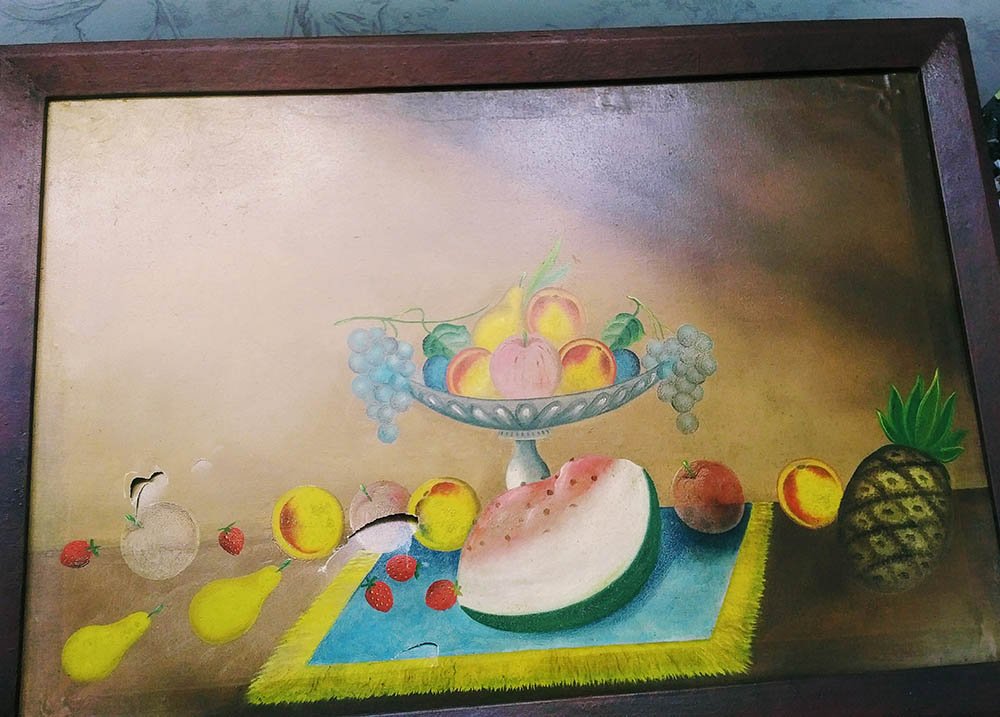
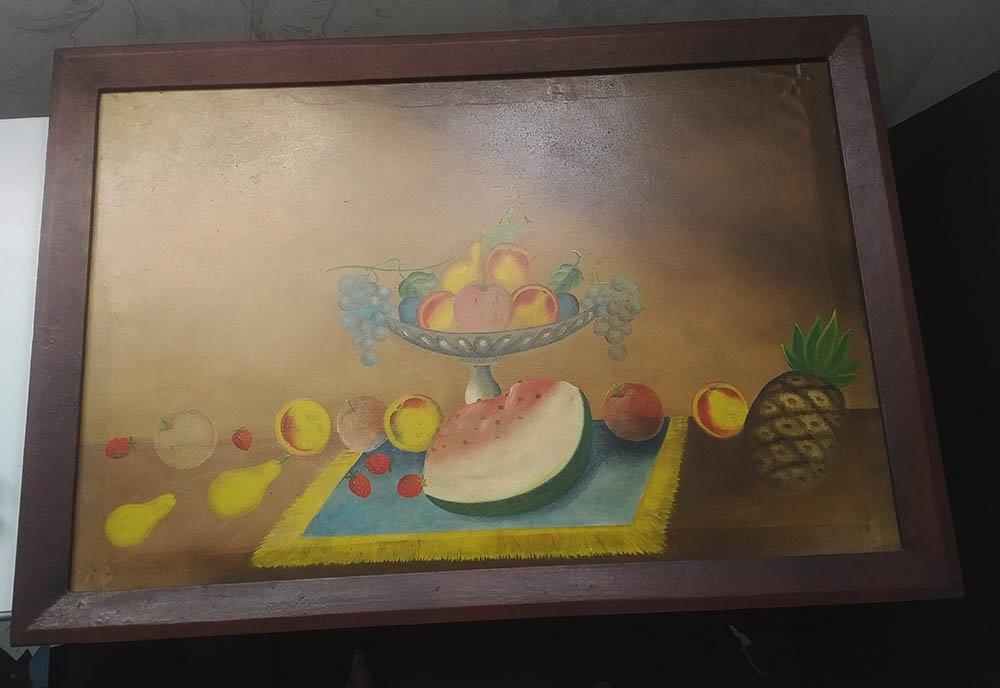
This is the question I had to answer when a customer asked me if I could fix this painting.
It was a special painting in his family, a collectible, and his then 2-year old son got a little excited one day with the silverware, adding a new dimension to the surface of the picture.
“I haven’t done anything like this before, ” I more or less told the customer when he asked if this kind of repair was possible. “But let’s give it a try.”
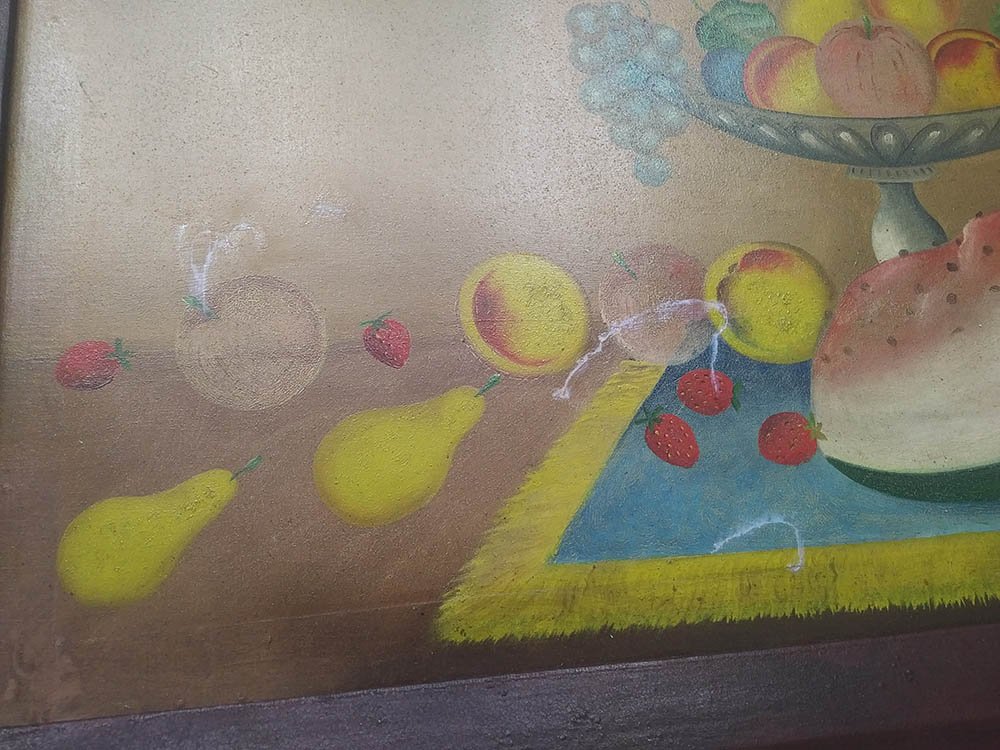
And so I laid the canvas out on a table and assessed the damage. There were several punctures in the canvas, so it wasn’t going to be easy.
I researched on how to repair paintings, and many websites suggested using a patch, but that it might be possible to see it from the other side, so you have to be careful with a repair like that.
What do you use for a patch?
I had some canvas lying around, so I figured it would be good to use the same material.
And then just to make sure it didn’t leave an impression on the other side years later, I cut the fabric to match the shape of the painting’s contours–in this case fruit in the still life.
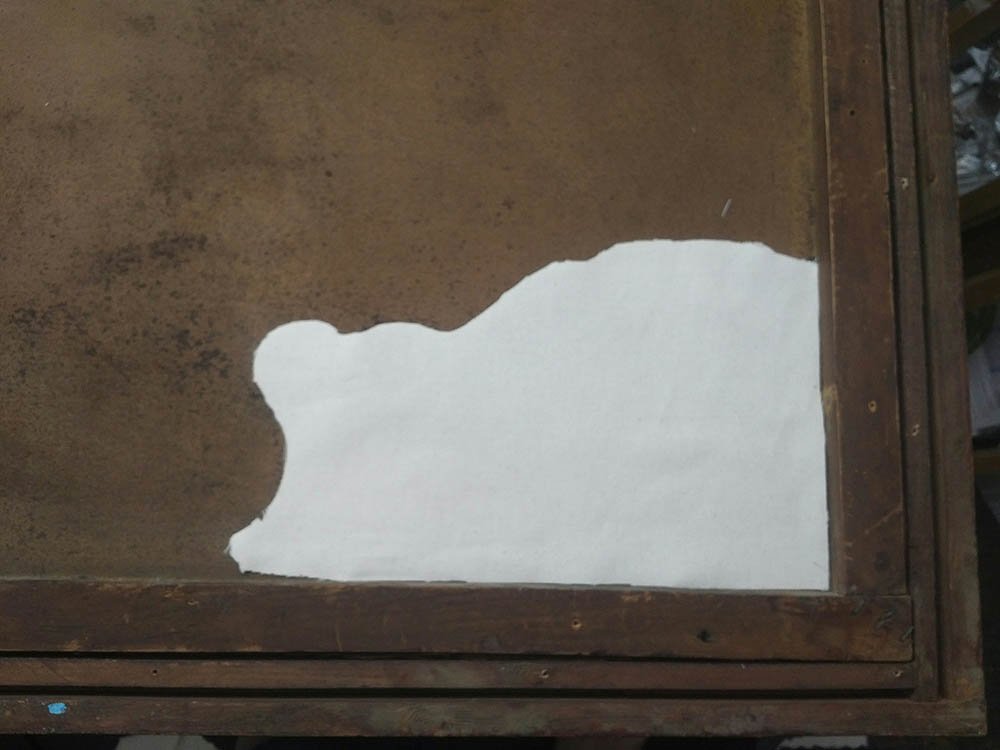
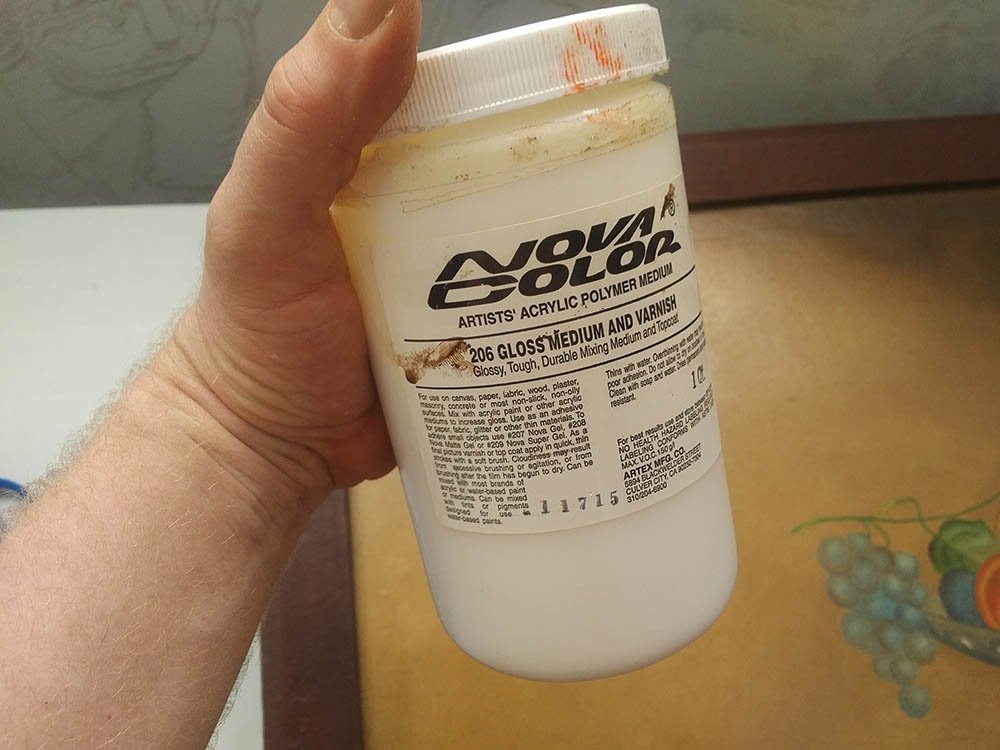
I applied gloss medium (clear acrylic without pigment that also can be used as an adhesive) to the patch and praying a quick prayer, weighted it down. This step is critical. If I misaligned the patch or caused the holes in the canvas to buckle, after the adhesive dries, the damage would be permanent.
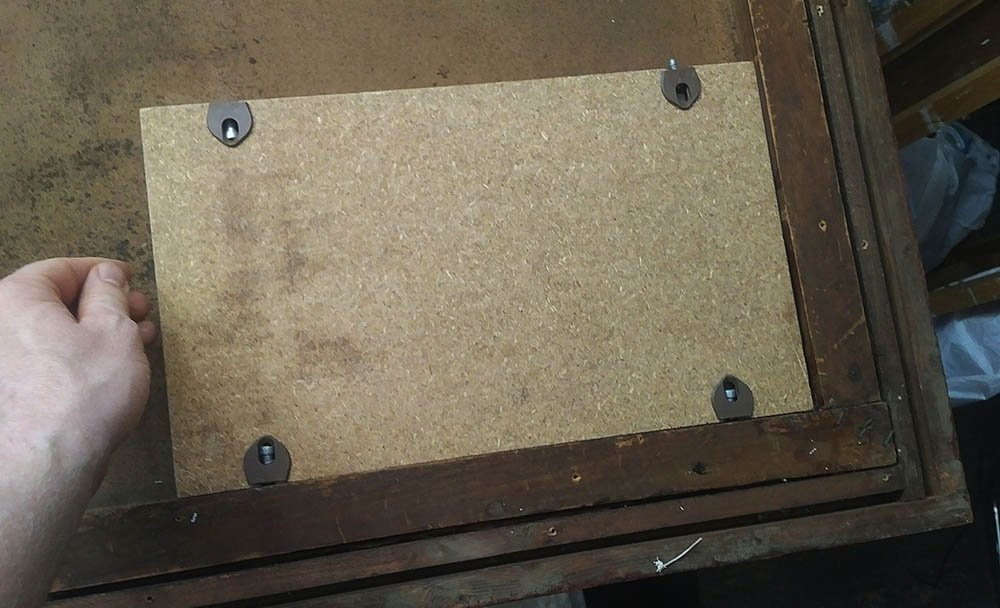
30 minutes later I took the weight off and inspected the other side. How did it look? Excellent. The tears were lined up almost perfectly.
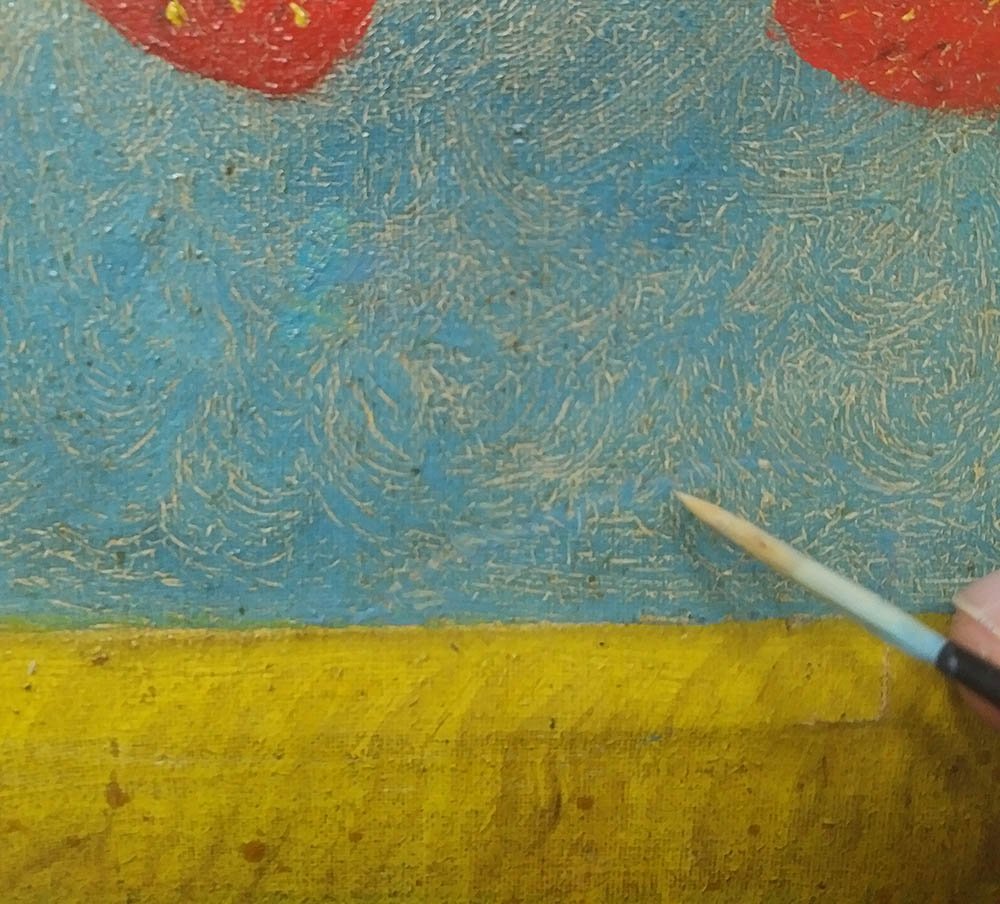
But this is where the real work began. I had to fill the cracks in. The tears still left very noticeable crevices in the surface of the canvas. It had to be filled in.
So I thought, let’s use some acrylic medium and fill in the holes like wall spackling. It does work, I discovered, but it takes several layers to do the job. I applied each layer with a brush and then began to scrape over it with a flat-edged blade.
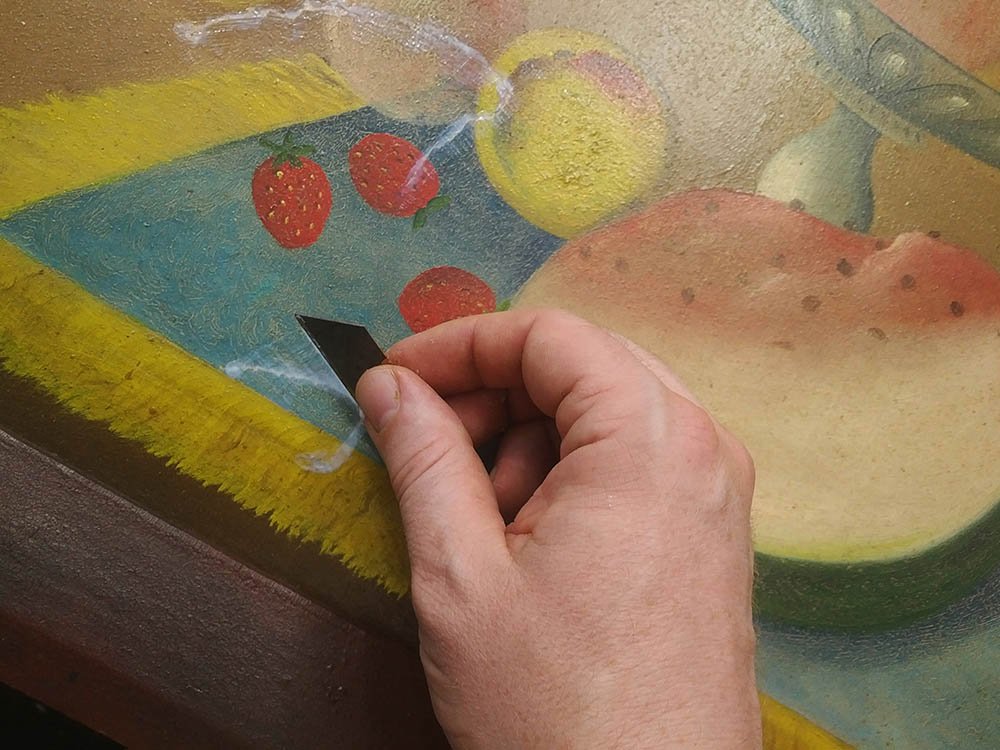
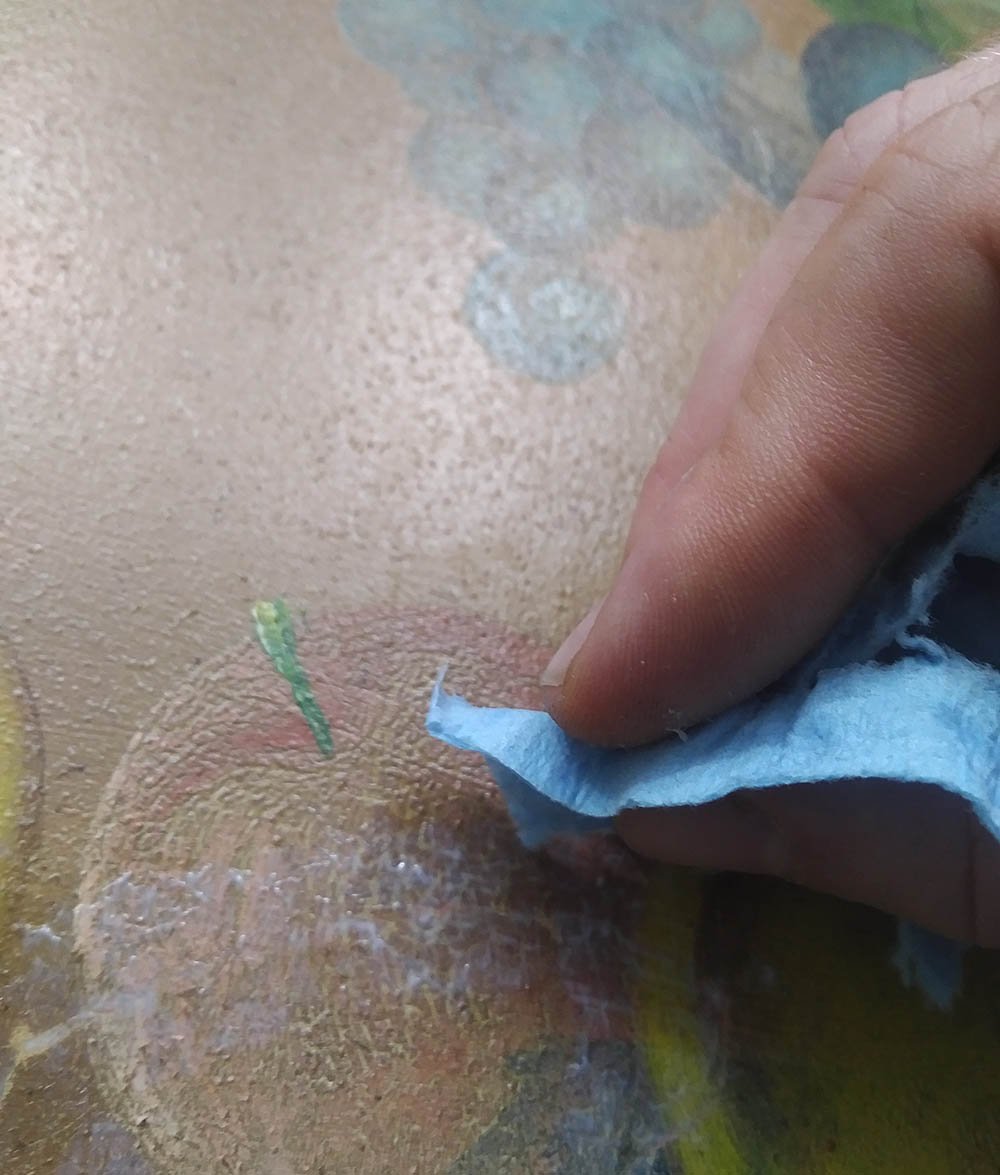
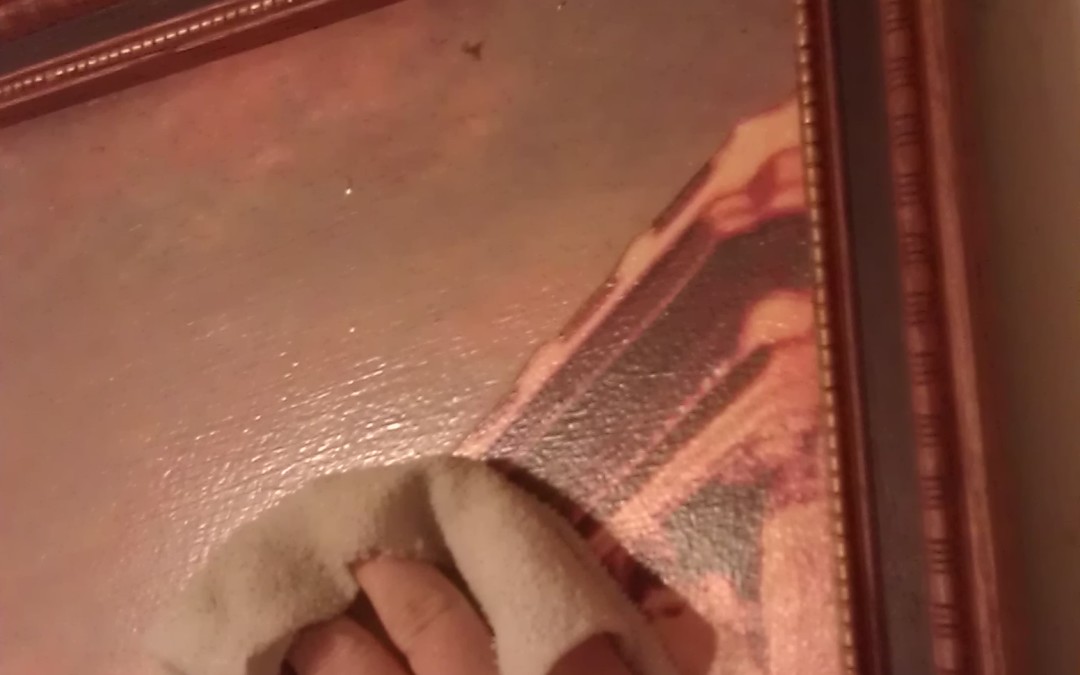
Eventually, the surface was flat. I used a piece of shop towel to stipple the last layer–helping it to match the texture of the canvas, which is slightly putted.
Fantastic.
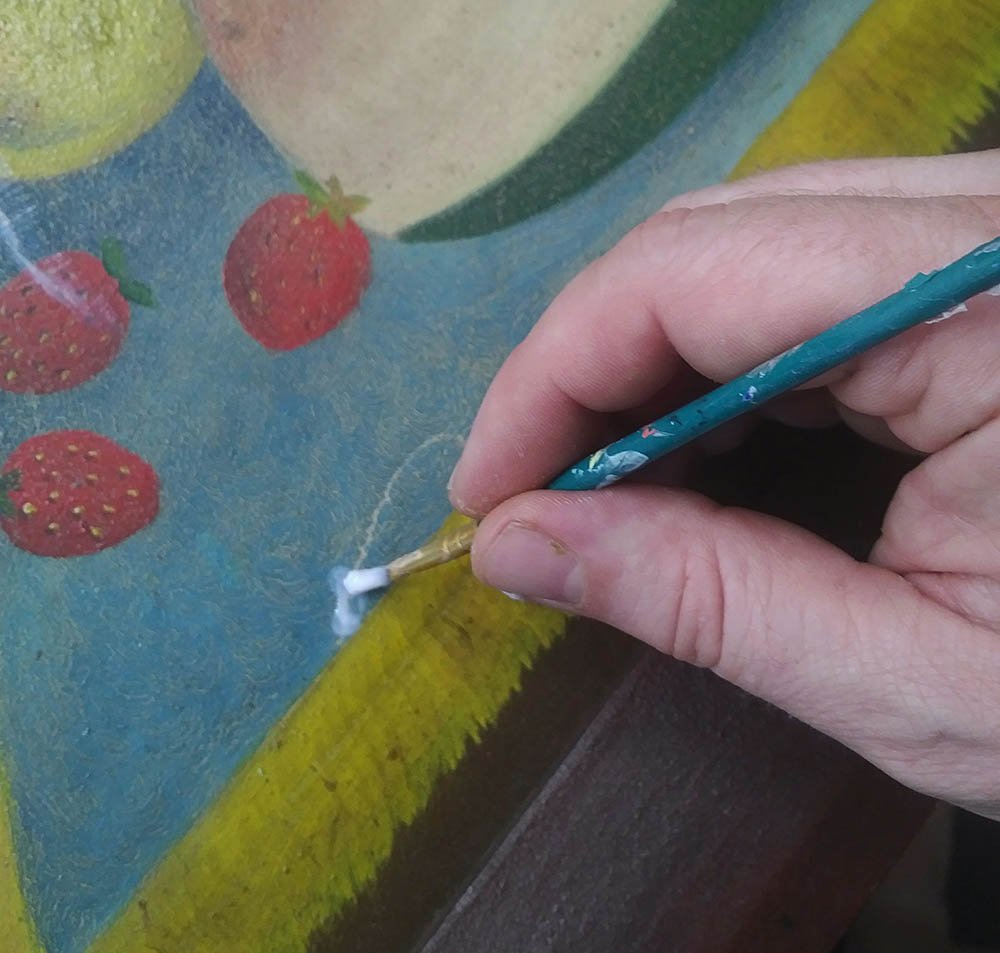
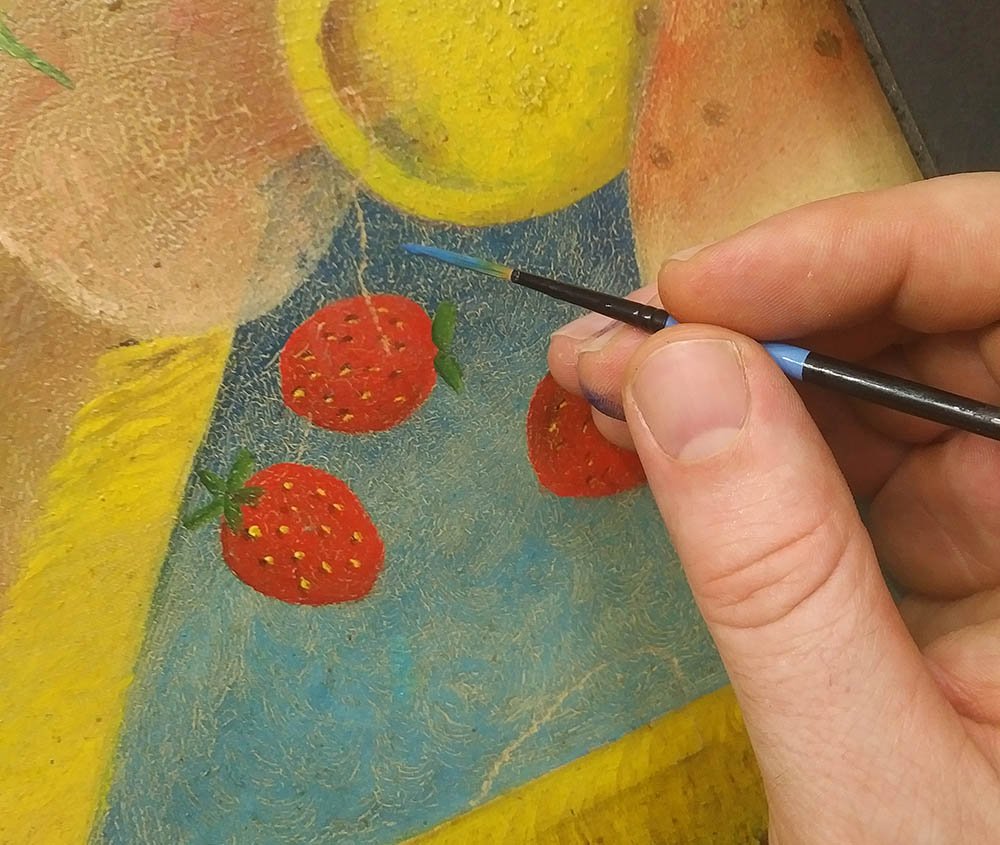
Now, with the surface matching perfectly it was just a matter of matching the color of the painting to fill in the little lines and cracks left by the tear.
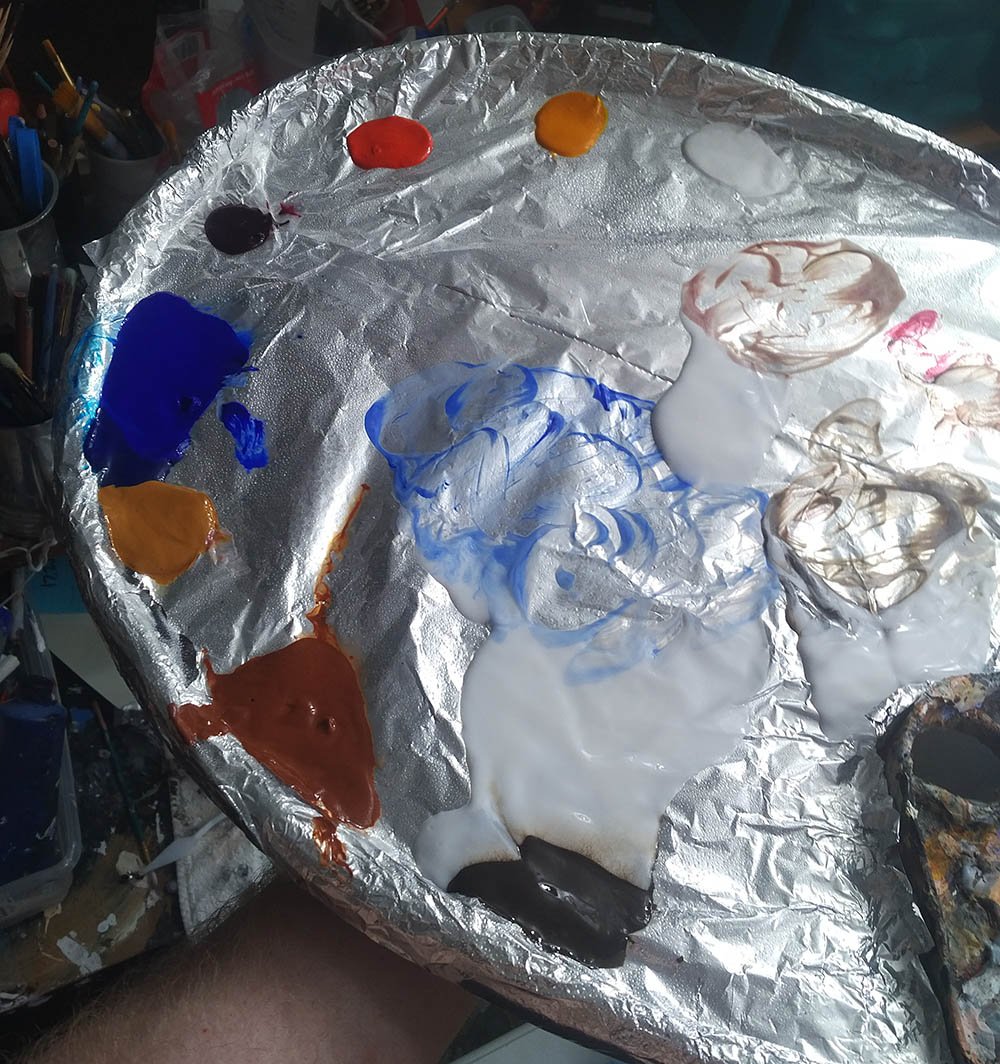
Matching each color up by eye, I filled the areas in. I also tried to match the sheen by mixing matte (flat) and gloss medium together and cover over the top.
When I was all done it was really hard to tell that anything even happened to the painting. I had trouble even seeing some of my repaired areas. I gave it to the client and he was amazed too. I thank God. It was a profitable project for me and it really blessed the customer to have their painting back and be able to hang it up on the wall.
I don’t know. Maybe they’ll hang it a little bit higher this time. 🙂
Thanks for reading and have a blessed day,

If you have any comments or questions about what I wrote, please leave me your feedback below! I will personally get back to you. Can you help me spread the word? Please share this post with your family and friends by using the social media links on the side or below. Thank you!
by Matt Philleo | Oct 21, 2015 | Tips for Art Appreciators, Tips for Artists, Tips for Collectors
I always smile a bit to myself when I have my artwork at a show, and a child reaches out to touch one of my paintings.
“No! Don’t touch that!” the parent scolds.
I don’t want to minimize the parent’s admonition, but I try to reassure them that the painting isn’t as delicate as they assume.
In Western culture, from our experiences encountering centuries-old masterpieces in museums, we are conditioned to give artwork its distance, and treat it as an ancient archeological relic.
Granted, I do try to show my artwork respect–because it is valuable–and not allow the surface to get scuffed or otherwise abused, but I know the medium I use, and it’s very resilient. So on the one side, I want clients that purchase my original paintings to treat it with care (and almost everyone instinctively does) but I also want them to feel comfortable knowing the painting can live in a house where people cook, children play, pets shed, and life happens.
Ever since the Renaissance, oil paint was the standard medium for painting. It allowed for a long working time, brilliant color saturation and blending, but because it could get brittle over time, oil paintings had to be handled with great care.
Then, in the 1930’s acrylic paint was invented and became available to artists in the 1950’s. Acrylics are great because of their versatility. High quality acrylics such as Liquitex, Windsor & Newton, and the kind I use–NovaColor– are extremely flexible, non-yellowing, water resistant, and highly resistant to scratches once dry. Although I have tried oils, acrylic is my medium of choice.
Since I have painted in acrylics for over 20 years, I’ll speak from my experience with them. Here are some guidelines in displaying and caring for your acrylic painting.
1. You do not need glass to protect your painting.
I have seen some people put glass over their paintings when framing them. This isn’t necessary to protect it. I use a high quality 100% acrylic resin varnish on my paintings to protect them from scratches, sunlight, dust, and other minor debris. The varnish also enhances the depth of the colors and provides a smooth, even sheen that is easy to clean.
Glass actually inhibits the viewing of the painting, by adding glare and reflections. However, I do recommend glass to cover prints, because the paper in prints is so susceptible to warping from humidity changes, and cannot be easily cleaned once it gets dirty. But for paintings, the traditional–and best–look is always to frame the canvas without glass.
2. Hang your painting in a place where there is adequate light–but not too much light.
Paintings look best in light. Soft lighting from lamps looks great on a painting that has warmer, earth tone hues. Daylight tends to accent a painting with cool tones. Try to keep your painting from direct sunlight–even though acrylic paint stands up very well to UV rays, eventually over the years, the sun will win the battle if you don’t take the precaution. So minimize that as much as possible.
3. How to clean your acrylic painting.
Over time, dirt, dust, oils, and other particles will settle on the surface of your painting. If the painting has either extremely dark or light hues, it will become especially noticeable, and will lessen the visual contrast of the overall image.
To clean the surface, all you need to do is grab a soft cotton towel or cloth, dampen it with water and wipe the dust off in circular motions. If the dust is excessive, you may want to use a feather duster first. Grease can be cleaned with household vinegar and rinsed with water.
Never use ammonia, bleach, alcohol, turpentine, or any solvents to clean an acrylic painting. That will be a recipe for disaster!
Have you ever seen “Bean,” the movie with Rowan Atkinson?
You may remember how, as an incompetent museum guard, he was asked to give a speech on the famous painting “Whistler’s Mother.” While he was alone with painting, studying it, he tried to blow dust off the surface. Then, the dust made him sneeze. Of course, he sneezed all over the painting. Uh oh! So he grabbed a handkerchief from his pocket and delicately cleaned the moisture off the canvas.
He smiled, sighing a breath of relief.
But he neglected to notice that his hankie was covered with ink from a leaky pen, and so was the face of Whistler’s mother! Now he really freaked out! He took the painting to the janitor’s closet and wiped off the ink with paint thinner.
Thankfully, the ink came off…but so did the face! All that was left was the raw canvas beneath–Mr. Bean was in trouble now!
So, let Mr. Bean be a lesson to you: no solvents for paintings!
4. What if the painting gets damaged?
Damage to an acrylic painting rarely occurs, but I have seen it happen. In fact, it has happened to me.
I once was delivering a painting to an art show, and I apparently didn’t have it packaged well enough–and something punctured and gouged the front of the painting, leaving a deep scratch almost 4 inches long and 1/8″ wide! I didn’t have much time before the deadline to drop of the painting, but I was able to get some paint from my studio, and quickly match, fill and varnish the scratched area. To this day, you can hardly tell there was a scratch, unless I were to point it out to you.
Now, if you bought an acrylic painting from me, for example, and it were to get damaged, I would be more than happy to restore it, for a very reasonable fee. Depending on the damage and where it is on the painting, it is something I can usually fix in a few hours or less.
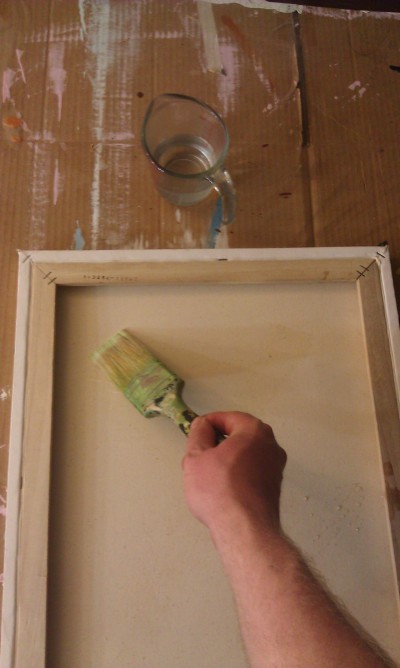
How to easily get a dent out of a stretched canvas
If your canvas gets dented, here is simple repair you can do yourself…
Simply boil about a cup of water in your microwave, grab a small household painter’s brush, and apply the hot water to the back (raw side) of the canvas approximately where the dent is and then paint an “X” across the back with the water.
You know how they tell you to never wash your cotton clothes in hot water because they’ll shrink? Well, in this case, that’s exactly what we want.
The hot water will cause the canvas to contract and with it, the dents will be pulled out. While wet, the canvas will be tight as a drum. After it dries, it will loosen a bit, but the dent will still be gone.
So again, should you decide to purchase an acrylic painting some time down the road, or you already own one, be confident that your investment is a wise one. Acrylic paintings are extremely archival–meaning, they are meant to last for a lifetime and more. With reasonable care, your original painting will be sure to become a treasured family heirloom!
Share Your Thoughts!
Let me know if you have any questions or comments on this post. I’ll personally get back to you. Also, could you help me spread the word? Please share this post with your friends and family, using the social media links on the sidebar or below. Thanks!


Recent Comments