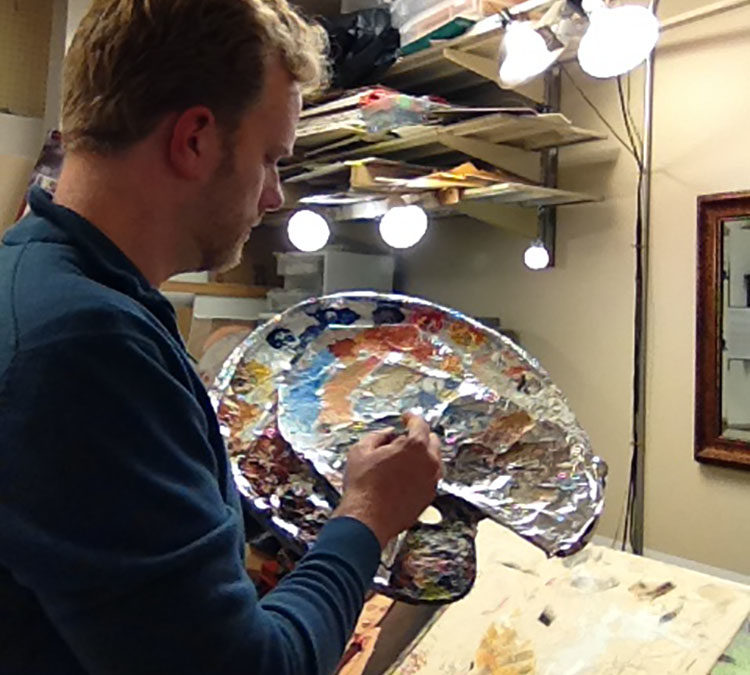
Hope you had a great Thanksgiving. I know I did. It was rejuvenating to take a little time off from the studio, and spend it with family. Sometimes as an artist, you feel the crunch of having to create a lot of artwork, and your creative energies get tapped out. Thanksgiving’s a fantastic time to recharge, give thanks to God for all the blessings He’s given, be with family, and of course, eat a wonderful home-cooked meal.
Back to the studio tomorrow.
While teaching art classes lately, I’ve discovered one of the most challenging things for my students to learn is how to shade.
For artists and art appreciators, shading is a mysterious thing. We wonder how to do it, or how others did it.
Shading– the transition from a dark value to a lighter value in a two-dimensional work of art–is one of the most important techniques you can master to make a painting or drawing look realistic.
I’d like to share a video (hosted on YouTube) I created earlier this week about that, with you. This is my first art instructional video–in fact really the first serious video recording I’ve done, since the old days of playing around with a VHS-C camcorder with my buddies after school. We made some pretty crazy movies back then!
Somewhere towards the end of the video–maybe about 2/3 of the way through–is where I really get into it: how to do shading with acrylic and make it look real.
Hope you enjoy this video, and let me know if it helps you in your painting. Let me know, too, how I can improve it in any way, so going forward I can create some videos that are more helpful, or informative for you. Or maybe you don’t paint, but you are interested in the process of acrylic painting. Again, let me know if you’d like to see more stuff like this in the future!
And of course, as I always ask, please share this with your friends! Thanks!
Blessings,
![]()
Matt
P.S. I will have the painting featured in the video on display at the art show this Saturday at my studio. (1106 Mondovi Rd, in Eau Claire, 10-4pm)
Share Your Thoughts!


Yet another great lesson from you Matt. As like your painting, your writing is also beautifully descriptive and informative. Surprised to see such a wonderful painting especially in Acrylic. I am a great fan of your artworks.
Again, many thanks, De. Let me know how if there’s any topic on acrylic portrait painting you’d like me to write or do a video on in the future!
Hi Shakira, I used several reference photos for Smoldering Wick. If you put “Smoldering Wick” in the search box on this blog, you will see some articles I wrote on my process. I took about 100 photos for the painting. There’s no way to get the realism without a good photo reference. Thanks for your interest in my work.